 |
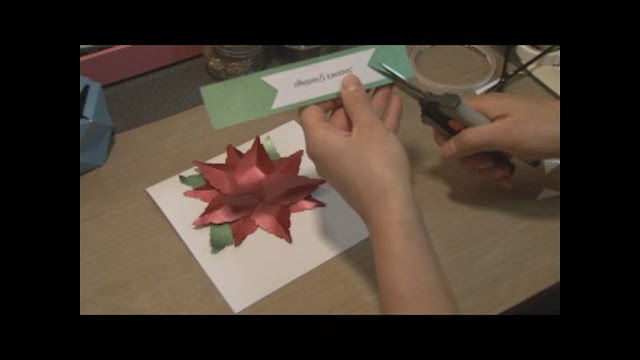
| Die cut 10 red rose leaves from the Tattered leaves dies set and 3 green rose leaves. Adhere together 5 red leaves first |
 |
| Pinch the ends to create dimension to the flower. |
 |
| Adhere the next 5 petals on top (remember to offset the petals to create a fuller effect). Pinch the ends of this layer as you did with the first layer. |
 |
| Adhere the green leaves to the back of the flower making sure you can see them from the front. |
 |
| Fold a piece of 6"x12" cardstock in half to create the base of the card. Adhere poinsettia with foam double sided tape to the front and slightly to the top to make room for the sentiment. |
 |
| Print a sentiment onto plain cardstock and snip fishtail ends to each side of the sentiment. |
 |
| Adhere the sentiment to piece green metallic paper to create a lovely border around the sentiment. Cut fishtail ends using the sentiment as a guide. |


No comments:
Post a Comment