Saturday, 10 November 2012

Poinsettia Card

Video tutorial on Youtube under Links at side bar or go to
http://www.youtube.com/watch?v=3pGKHrZ_ij0&feature=channel&list=UL

Items used:
Time Holtz Tattered Leaves Die
6"x12" La Carta Bubble card stock in white
La Carta 120gsm Metallic paper in Rubine & Forest Green
Printed sentiment onto plain white cardstock
Hot Glue or Quick Drying glue
Double sided foam tape
Regular double sided tape

Die cut 10 red rose leaves from the Tattered leaves dies set and 3 green rose leaves. Adhere together 5 red leaves first

Pinch the ends to create dimension to the flower.

Adhere the next 5 petals on top (remember to offset the petals to create a fuller effect). Pinch the ends of this layer as you did with the first layer.

Adhere the green leaves to the back of the flower making sure you can see them from the front.

Fold a piece of 6"x12" cardstock in half to create the base of the card. Adhere poinsettia with foam double sided tape to the front and slightly to the top to make room for the sentiment.

Print a sentiment onto plain cardstock and snip fishtail ends to each side of the sentiment.

Adhere the sentiment to piece green metallic paper to create a lovely border around the sentiment. Cut fishtail ends using the sentiment as a guide.

Roll or use a tool to create a hill or arch in the sentiment. Also bend up the fish tail ends to create dimension to the sentiment. Adhere the sentiment to trying to keep the dimensional effect you've just created.

Have fun!


Wednesday, 7 November 2012

Pink, black and silver Mini Album

I created this mini for my sister using the DCWV All Dressed Up cardstock stack and cre8tiv mini stacks.


 Click on the YouTube link under Links to watch the video version
Die cut wings were created to make a pocket for tags.

A very simple page with a frame for a photo and journaling.

This opens up for photos and journaling

Pocket full of tags.

A double page spread with corners made from ribbon and pockets behind for tags.

I made this gorgeous expandable folder by copying an expandable folder I have. Inside holds heaps of pockets and tags that look like files. 

I crackle accented this chipboard photo frame in black soot shape and also holds tags behind it.

The dress form holds a tag that is tucked behind it. The tag slides out and flips open pages for photos and journaling.

A photo frame and a tag behind it.. These are handmade flowers from ribbon.

Another simple page with a photo frame for a large photo and journal below it.

I love these petal envelopes as you can tell I use them all the time in my minis. Great was to display photos and journaling.

This page was inspired by Sex In The City. My sister and I used to watch it all the time. The tags pull out for photos and journaling.

I love creating minis inside minis because there is so much space for photos and journaling in them... and they look so cute!

Tuesday, 6 November 2012

Vintage Rose and Timeless Mini Album

Mini Album using the Merci Vintage Rose and Timeless paper stacks.
Click on the YouTube link under Links to watch the video version

Face your fears and try something new!

Swing photo frame reveals another photo of another mini album I have created for my friend

A mini expandable file I created to house heaps of photos and journaling.

A slide card slides out a photo at the top and bottom simultaneously.

A mini album hold heaps of more photos and journaling.

This petal card opens to reveal a photo and more photos behind it as it is held together with a ribbon tie.

The dress was a die cut which I decorated with ribbon and tulle

A waterfall element reveals each photo as you slowly pull the side tab. I hope you enjoyed it!

DCWV Far East mini album

Asian themed mini album I created using the DCWV Far East 8"x8" paper stack.
Click on the YouTube link under Links to watch the video version

I paper pieced a fan to become a pocket for the tags behind it.

The slider card simultaneously slides out a photo at the top and bottom. So cool

Photo mat opens up once removed from the photo corners.

I designed a swinging photo frame using a twisting jewellery clasp.

A simple mini album to keep many more photos. I love using the most of my space!

A petal envelop that opens up for a photo. It also has places behind for more photos once opened up

The lace pocket on this page holds a mini file for photos and journaling.

The very interactive waterfall page reveals photos when you slowly pull the side tag

Monday, 5 November 2012

Grace Taylor Vintage Mini Album

A mini album I created for a friend using the Grace Taylor Vintage paper pack.
Click on the YouTube link under Links to watch the video version.

Slider card page slides out photos at the top and bottom simultaneously

This chipboard photo frame is also a pocket for tags behind it for some journaling.

Photo matt is removable to reveal journaling on the inside of the card

The music note latch swings away to be able to flip the pockets out for photos and journaling on the tags.

A mini album is tucked behind the Tim Holtz die cut for heaps of more photos and journaling

The photo can slide behind frame and room for journaling on the tags
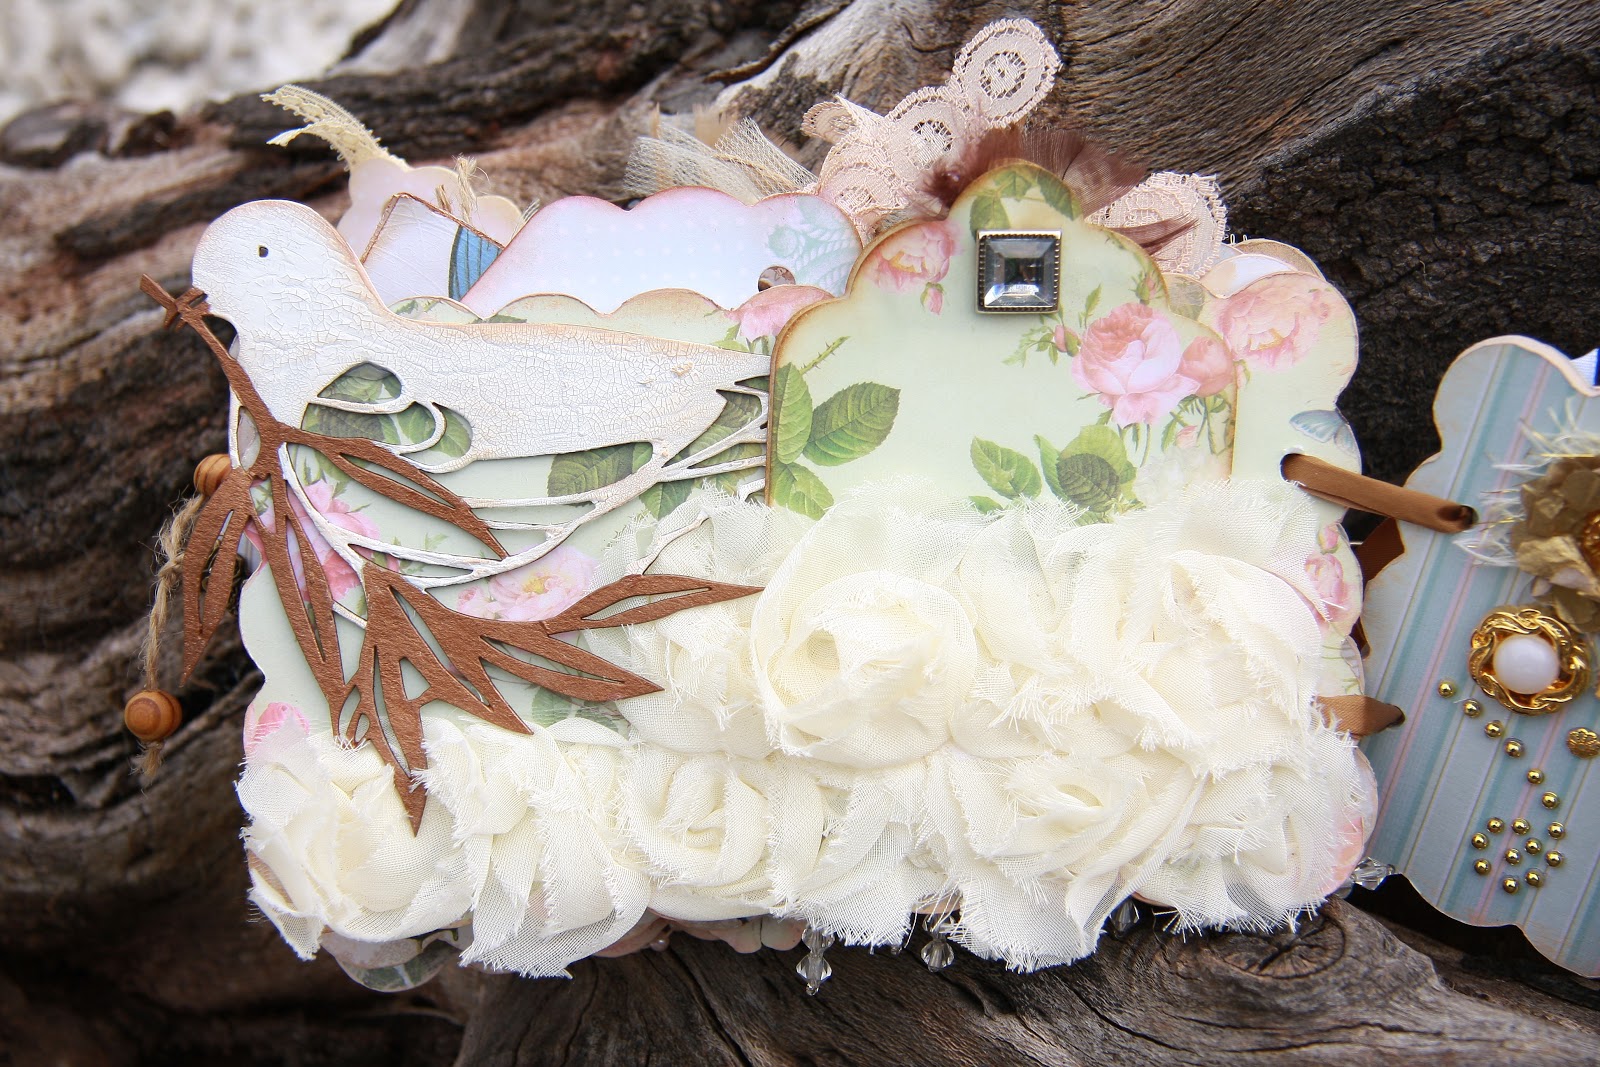
Gorgeous rosette trim made into a pocket to house a tag card for journaling and photos

A great mini book designed by Jade on Youtube which allows for heaps of photos and pockets within the pages

I didn't want to waste the back of this mini album so I created pockets from paper doilies and placed tags for photos and journaling. I hope you enjoyed it!